Loading...
Solution Part 2
Image
Download includes a watermark. Sign in for watermark-free downloads.
Sign in for Watermark-Free Downloads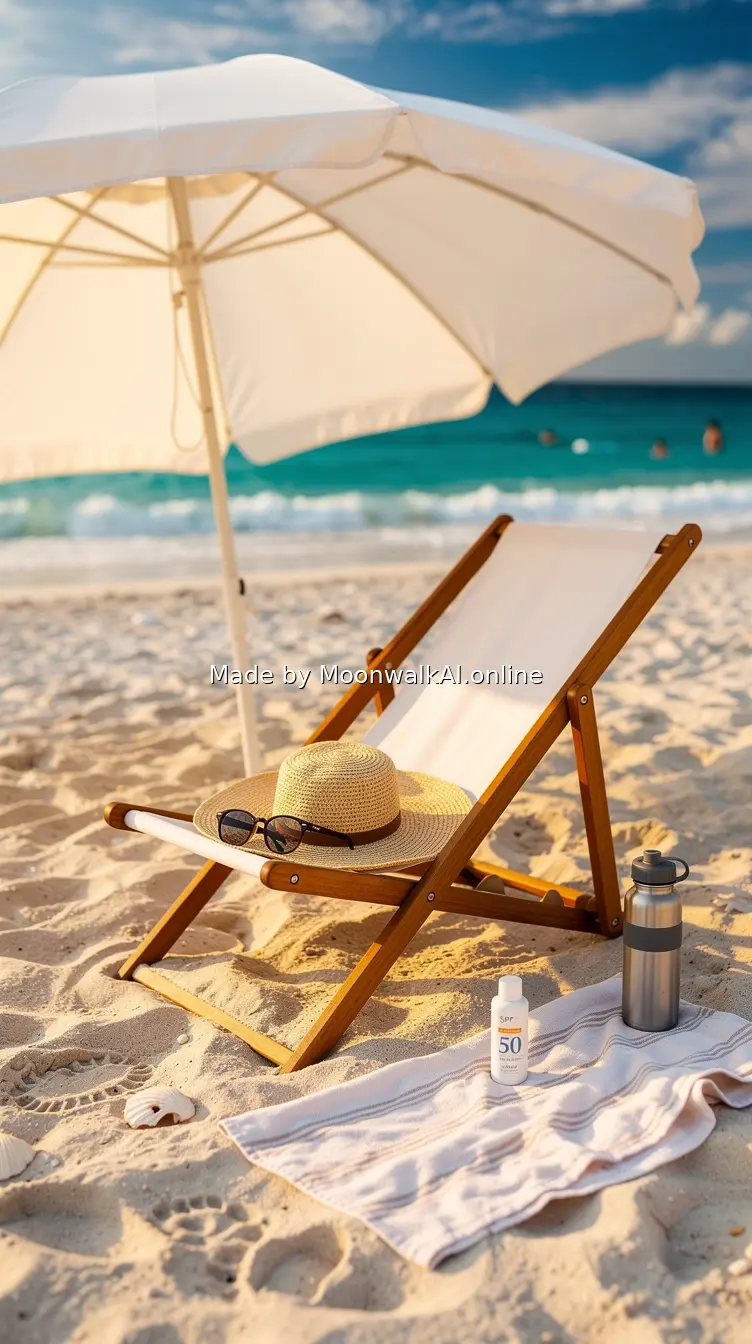
Prompt
Beach scene with large umbrella providing shade, wide-brimmed sun hat and sunglasses on beach chair, photorealistic lifestyle shot showing complete sun protection setup